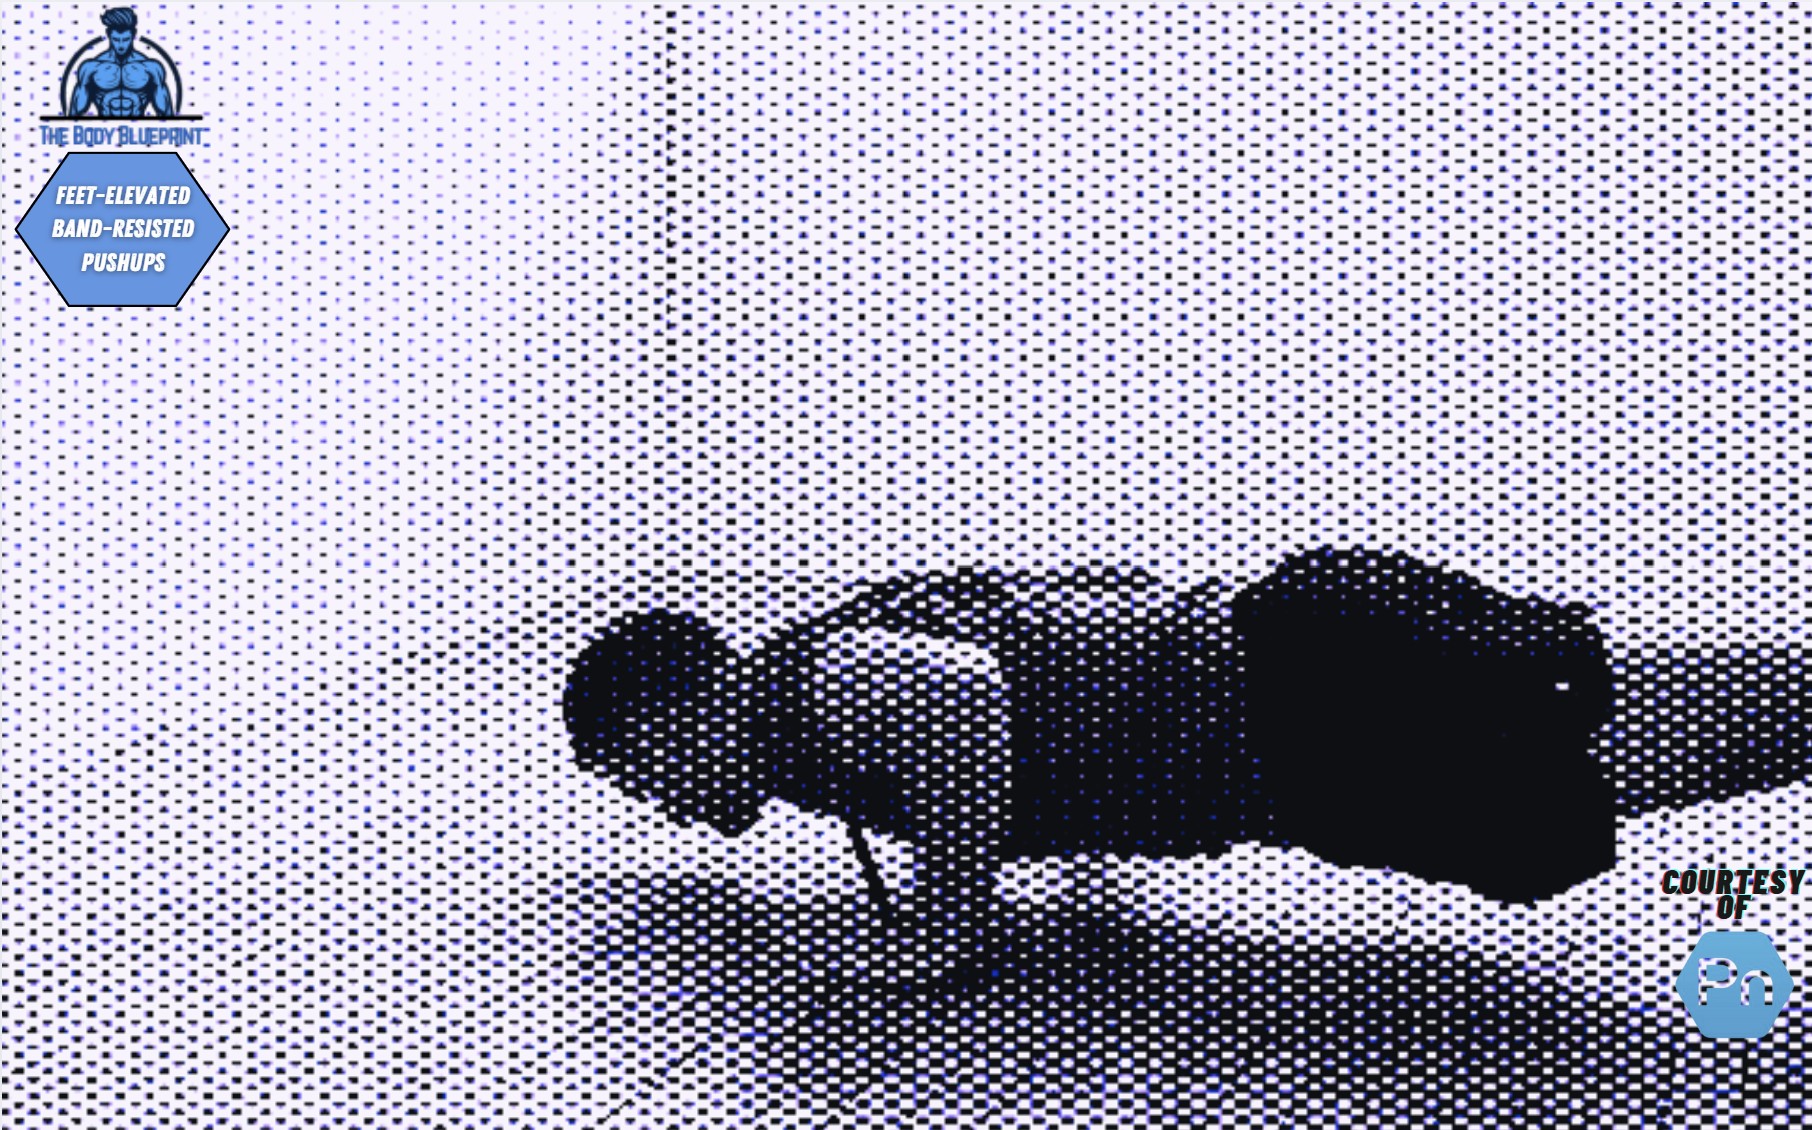
You’ve done standard pushups. You’ve even dabbled in decline pushups. But feet-elevated band-resisted pushups? That’s where things get real. This move doesn’t just build chest strength; it turns your upper body into a power machine. And the best part? You’re not tied to a gym. Grab a sturdy surface, a resistance band, and let’s turn gravity into your sparring partner.
What Are Feet-Elevated Band-Resisted Pushups?
It’s exactly what it sounds like: a pushup where your feet are elevated, and a resistance band adds extra load to your upper body. The higher your feet, the more your shoulders and upper chest get roasted. Add the band? You’ve got a challenge that lights up your pecs, delts, triceps, and core.
Why Elevate Your Feet? The Science Behind the Strength
- Increased Load: Elevating your feet shifts more of your body weight onto your hands. Translation? Your chest and shoulders carry the load.
- Upper Chest Activation: Feet elevation targets the clavicular head of the pectoralis major (that upper pec shelf you want to fill out).
- Core Engagement: Stabilizing with your feet up? That’s your core working overtime to keep you balanced and in control.
Adding Resistance: Why the Band Is a Game-Changer
The band doesn’t just make it harder; it makes you stronger.
- Progressive Resistance: The higher you push, the more the band fights back. This mimics the force curve of a bench press, where the top portion is tougher.
- Joint Safety: Bands reduce stress on your joints compared to static weights.
| Standard Pushups vs. Band-Resisted Pushups | Standard Pushups | Band-Resisted Pushups |
|---|---|---|
| Resistance | Body weight only | Body weight + band |
| Core Activation | Moderate | High |
| Chest Engagement | Standard | Amplified |
Step-by-Step Guide to Feet-Elevated Band-Resisted Pushups (With Video Instruction)
1. Gear Up
- What You Need: A sturdy surface (bench, box, or chair), a looped resistance band, and grit.
- Band Setup: Wrap the band around your back, securing it under your thumbs or hands.
2. Set Your Base
- Place your feet on the elevated surface. Keep your body in a straight line—shoulders, hips, and heels aligned.
3. Engage
- Pull your core tight. No sagging hips or flaring ribs. Your body should feel like a steel plank.
4. Execute
- Lower yourself slowly, bringing your chest toward the floor.
- Push up explosively against the resistance of the band, feeling your pecs fire.
Pro Tips for Maximum Gains
- Don’t Rush: Slow down the eccentric (lowering) phase for added muscle engagement.
- Neutral Spine: Keep your neck aligned with your spine. No craning or dropping your head.
- Breathing Matters: Inhale as you lower, exhale as you press up.
Benefits of Feet-Elevated Band-Resisted Pushups
This move is not just a chest-builder; it’s a full-body strength enhancer.
- Chest Gains: Your pecs get hammered, especially the upper portion.
- Shoulder Development: Shoulders stabilize the movement and take on the load as elevation increases.
- Triceps Burn: Pushing against the band lights up those triceps.
- Core Strength: Stabilizing with feet elevated makes your abs work overtime.
| Muscle Activation | Primary | Secondary |
|---|---|---|
| Chest (Pecs) | Upper & lower | Serratus anterior |
| Shoulders | Anterior delts | Traps, rotator cuff |
| Arms | Triceps brachii | Forearms |
| Core | Rectus abdominis | Obliques |
Common Mistakes (and How to Avoid Them)
- Sagging Hips: Keep your core tight to prevent your lower back from dipping.
- Short Range of Motion: Lower your chest close to the floor for full engagement.
- Poor Band Placement: Ensure the band is evenly wrapped to avoid slipping or uneven resistance.
Variations for Every Fitness Level
| Variation | Who It’s For | How to Do It |
|---|---|---|
| Band-Resisted Pushups (no feet elevated) | Beginners | Standard pushup position, band across back |
| Feet-Elevated Pushups (no band) | Intermediate | Focus on elevation, skipping the band for now |
| Deficit Pushups + Band | Advanced | Use pushup handles or blocks to increase depth |
Programming Tips: Where to Fit Them In
- Chest Day Staple: Use it as a burnout set after barbell presses.
- Upper Body Circuit: Pair it with pullups and dips for a balanced session.
- Standalone Finisher: Knock out 3-4 sets of 8-12 reps to toast your chest and core.
FAQs About Feet-Elevated Band-Resisted Pushups
Q: Can I use a resistance band if I’m new to pushups?
A: Absolutely. Start with lighter bands and lower elevation to build strength progressively.
Q: How high should my feet be?
A: Aim for 12-18 inches. Higher elevation increases difficulty and shifts emphasis to your shoulders.
Q: What band resistance is best?
A: Medium to heavy bands work well, depending on your strength level. You should feel challenged but not compromised.
Take Your Pushups to the Next Level
Feet-elevated band-resisted pushups aren’t just an exercise—they’re a statement. This move screams, “I’m not here for average.” It’s time to ditch excuses, grab that band, and elevate your game. Literally.

