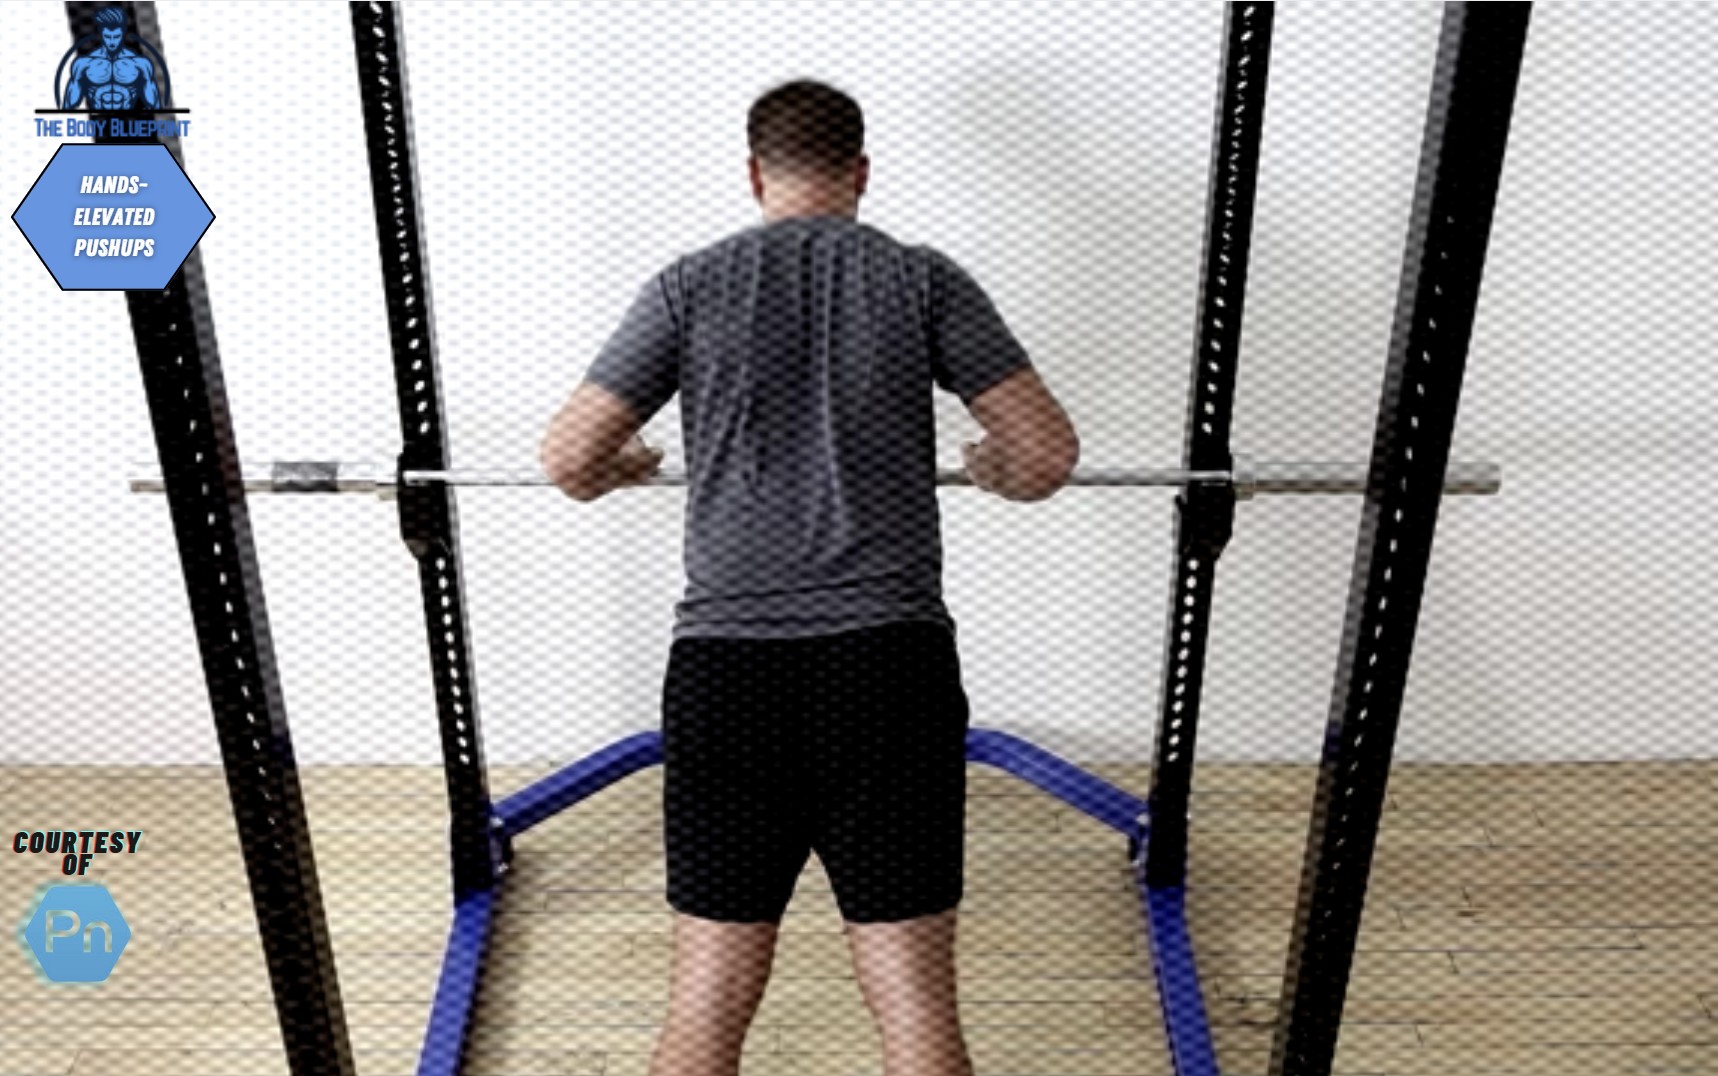
You’ve already crushed the regular pushup, right? Now, let’s level up. Enter the hands-elevated pushup — the ultimate game-changer that doesn’t just build raw strength but cranks up your overall stability. You’re about to learn a movement that’s been used by pro athletes, bodybuilders, and military guys who know that to become the best, you have to constantly push your limits.
So, let’s break it down. Here’s your ultimate guide to owning the hands-elevated pushup and taking your upper body strength to the next level.
What is a Hands-Elevated Pushup?
The hands-elevated pushup is a variation of the traditional pushup where your hands are positioned on an elevated surface, such as a bench, box, or platform. This slight incline shifts the focus to your upper chest and shoulders, giving you a stronger push while engaging your core for maximum stability.
Think of it like this: you’re forcing your upper body to work harder, building up the muscles you rely on for heavy lifts and explosive movements.
Why Add Hands-Elevated Pushups to Your Routine?
Let’s get one thing clear: it’s not just about showing off your gains. Elevating your hands does some serious work. Here’s why you need this move in your arsenal:
- Targeting Upper Chest and Shoulders: With the hands elevated, you’re placing more tension on your upper chest and shoulders. This helps build a well-rounded chest for that “V-shape” look.
- Improved Stability and Core Activation: Your core’s gotta stay tight to keep your body in line. The elevated position challenges your balance, forcing your core to fire up and engage.
- Progressive Overload: You can gradually increase the height of your hands, making it easier to push past plateaus in your strength and endurance.
- Injury Prevention: By shifting the angle of your pushup, you reduce the strain on your wrists and shoulders, which can help avoid long-term injuries.
Performing Hands-Elevated Pushups (Step-by-Step)
Step 1: Set Up Your Hands
- Find Your Elevation: Start with a box or bench that’s about 6 to 12 inches high. If you’re new to this, keep it on the lower end and increase the height as you get stronger.
- Hand Placement: Place your hands shoulder-width apart, just like you would for a normal pushup. But here’s the kicker — keep your fingers spread wide, so you’re engaging your forearms for stability.
Step 2: Get Into Position
- Feet on the Ground: Your feet should be flat on the floor, slightly wider than hip-width apart. Focus on keeping your body in a straight line from head to heels. No sagging.
- Core Engagement: Brace your core as if you’re about to take a punch to the gut. This keeps your body rigid and aligned during the movement.
Step 3: The Push
- Lower Slowly: Drop your body down, keeping your elbows at about a 45-degree angle to your torso. Control the descent — don’t just drop like you’re falling off a cliff.
- Push Back Up: Once your chest nears the elevated surface, explode up through your palms, pushing your body back to the starting position. Make sure your core stays tight the entire time.
Step 4: Breathing and Control
- Inhale as you lower yourself, and exhale as you push back up. This helps keep your movement controlled and efficient.
Key Benefits of Hands-Elevated Pushups
| Benefit | How It Helps You |
|---|---|
| Upper Chest Development | Targets the upper chest for a more defined look. |
| Core Strength | Forces core stability, improving balance in other exercises. |
| Shoulder Activation | Engages shoulders more intensely than regular pushups. |
| Injury Prevention | Shifts strain away from wrists and shoulders. |
| Increased Pushup Intensity | Elevation increases resistance, allowing for progression. |
Common Mistakes to Avoid
- Elbow Flare: Don’t let your elbows flare out like you’re doing a tricep dip. Keep them tucked at a 45-degree angle.
- Sagging Core: Avoid letting your lower back dip toward the ground. A sagging core can lead to injury. Keep it tight and aligned.
- Too High of an Elevation: Starting with a high elevation might feel like an easy win, but it can mess with your form. Keep the elevation moderate until you master the technique.
How to Progress with Hands-Elevated Pushups
You’re already getting stronger. Now, it’s time to progress. Here’s how you can take it to the next level:
1. Increase Elevation
- Gradually increase the height of the surface you’re using. This adds more resistance, making the pushups more challenging and improving your range of motion.
2. Add Weight
- Once you’re comfortable with the movement, you can add a weighted vest or plate on your back to increase intensity.
3. Elevate Feet
- Turn it around. Try feet-elevated pushups to target the lower chest and increase the difficulty.
FAQs About Hands-Elevated Pushups
Q1: Can I do hands-elevated pushups every day?
- A1: Absolutely, but listen to your body. If your muscles feel sore, take a day to recover. Overtraining leads to injuries, and you don’t want that.
Q2: What’s the best height for the elevated surface?
- A2: Start low, around 6 inches. As you progress, you can increase the height to challenge yourself further. Keep it under control to avoid compromising your form.
Q3: Do hands-elevated pushups help with regular pushups?
- A3: You bet. Hands-elevated pushups build strength in your upper chest and shoulders, which translates directly to more power in regular pushups.
Q4: How many reps should I do?
- A4: Start with sets of 8 to 10 reps, and build up as you get stronger. Once you’ve got control, increase the reps or add weight to level up your performance.
Ready to Take the Challenge?
The hands-elevated pushup isn’t just another variation. It’s a way to build serious strength in your chest, shoulders, and core — and it’ll get you one step closer to crushing those goals.
Go ahead, elevate your fitness.

