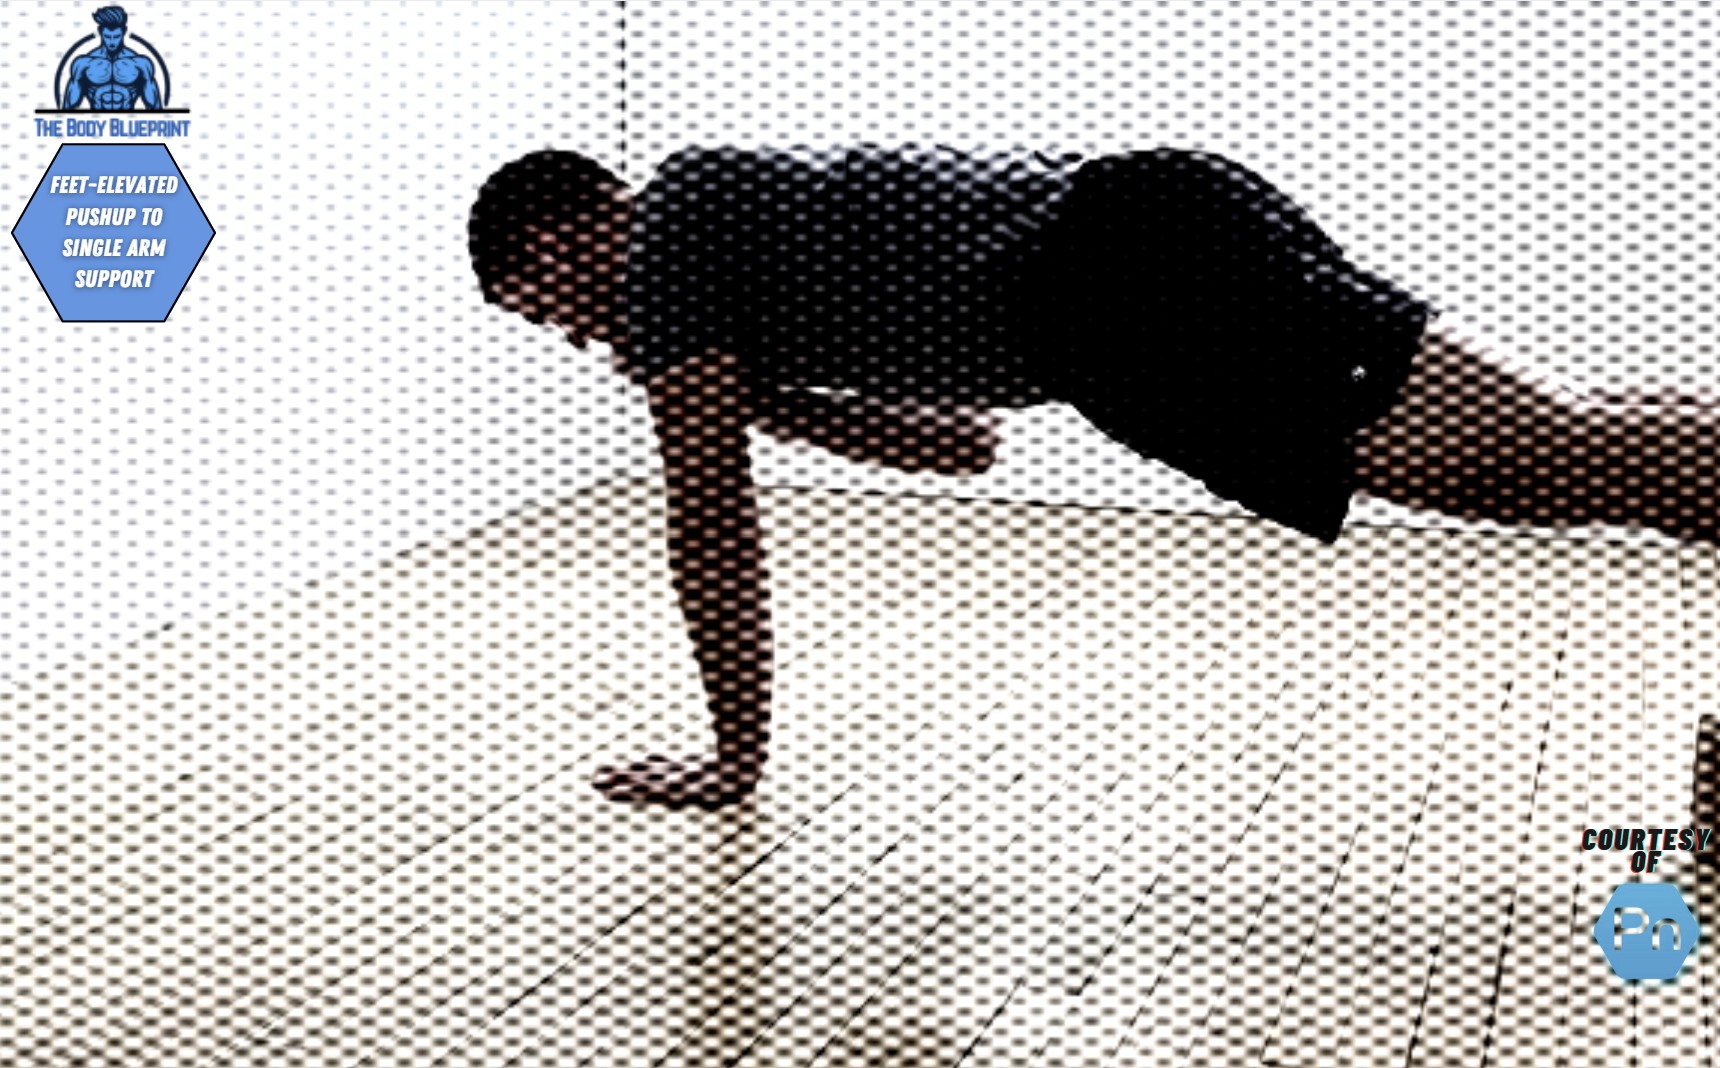
Ready to level up your pushup game? You’re about to tackle one of the toughest moves out there – the Feet-Elevated Pushup to Single Arm Support. If you want explosive upper body strength, improved stability, and a serious challenge, this is your move. But before you dive in, let’s break it down. Trust me, by the end of this, you’ll be ready to crush this exercise like a seasoned pro.
Why You Should Add the Feet-Elevated Pushup to Single Arm Support to Your Routine
Here’s why this exercise will make a real difference:
- Explosive Power: You’re not just doing pushups; you’re engaging your entire core and pushing your upper body strength to the next level.
- Stability & Balance: The instability of the single-arm hold forces your body to engage the stabilizing muscles in ways you never thought possible.
- Core Activation: With your feet elevated and one arm in the air, your core is working overtime to stabilize your body.
- Shoulder Strength: By shifting to one arm, you build unilateral strength, targeting the shoulders and chest in a way traditional pushups can’t.
Key Muscles Worked
Primary Muscles:
- Chest (Pectorals)
- Shoulders (Deltoids)
- Triceps
- Core (Abs & Obliques)
Secondary Muscles:
- Biceps (when holding the single arm)
- Upper back
- Legs (for stability)
The Step-by-Step Breakdown: Performing the Feet-Elevated Pushup to Single Arm Support
Step 1: Set the Stage
- Position your feet on an elevated surface like a bench or sturdy chair. This will elevate your hips and help engage your core from the start.
- Place your hands on the floor, shoulder-width apart, with your body forming a straight line from your head to your feet.
Step 2: Push-Up Form
- Lower your chest toward the ground, making sure your elbows stay at a 45-degree angle to your body.
- Push back up, but this time, as you come to the top, transition into the next part of the move.
Step 3: Shift to Single Arm
- Once you’ve pushed up, rotate your body slightly, placing one hand under your chest and lifting the opposite arm straight up toward the ceiling.
- Your feet should remain elevated, and your torso should stay as stable as possible to avoid wobbling. This is where you’ll feel your core kick into overdrive.
Step 4: Hold & Control
- The key here is to hold that single-arm position for a beat. Don’t rush through it. Control your balance. The longer you hold, the more your body will recruit those stabilizing muscles.
- Return to the starting position with both hands on the floor and repeat the process.
Helpful Tips for Mastering the Movement
- Core Engagement: Keep your core tight throughout the entire movement. Think of your abs as a shield, keeping your body aligned.
- Slow & Steady: The beauty of this move is in the control. Focus on slow, controlled movements – don’t let momentum take over.
- Breathing: Exhale as you push up, inhale as you lower your chest.
- Progression: Start with a regular pushup on the elevated surface, then gradually add in the single-arm hold as you feel more confident.
Common Mistakes to Avoid
| Mistake | What Happens | How to Fix It |
|---|---|---|
| Hips Too High | Your body forms an unstable “V” shape. | Keep your body in a straight line, head to heels. |
| Flaring Elbows | Elbows moving out at a 90-degree angle. | Keep your elbows at a 45-degree angle to your body. |
| Dropping the Chest Too Quickly | Losing control of the descent and pushing too hard. | Lower slowly and with control. |
| Not Holding the Single Arm | Rushing through the movement, compromising stability. | Hold the arm at the top for at least a few seconds. |
Advanced Modifications: Crank Up the Difficulty
- Add Weight: To really make it a challenge, wear a weighted vest or place a weight plate on your back.
- Go Full-On One Arm: Once you’ve mastered the move with one hand in the air, try to remove the other hand entirely during the pushup phase.
- Elevate the Feet Higher: Find a taller platform to elevate your feet even more for greater intensity.
Let’s Talk Results: How Long Until You See Gains?
Timing
- Within the first 2-3 weeks, you’ll notice increased shoulder and chest strength.
- After about 4 weeks, you’ll feel your core stability increase and your body adapting to the challenge of holding that single arm.
Consistency
- Aim for 3-4 sets of 5-8 reps. As you gain strength, increase your reps or add difficulty by extending the hold.
Q&A: Uncommon Tips for Extra Gains
Q1: Can I perform this exercise if I’m not great at regular pushups yet?
A1: Absolutely. Start with regular feet-elevated pushups to build strength. Gradually work up to adding the single-arm hold. You’ll need a solid foundation before progressing.
Q2: How do I know if I’m holding my body correctly during the single-arm phase?
A2: If your core is engaged and your body remains straight (no sagging in the lower back), you’re doing it right. Check your alignment with a mirror or video yourself to be sure.
Q3: Is this move safe for beginners?
A3: It’s a challenging move. If you’re new to working out or don’t have a strong base, it’s best to start with easier variations and build up your strength before attempting this.
Conclusion: Master Your Strength with Feet-Elevated Pushups to Single Arm Support
This move isn’t just for show; it’s a full-body challenge that builds muscle and stability in ways you didn’t think were possible. It pushes your limits, engages those hard-to-reach muscles, and forces your body to adapt – no shortcuts allowed.
So, are you ready to break through your plateau? Let’s get this done.

