The Single-Arm Standing Band Row is the high-ROI movement your back day is missing, combining vertical torso stability with surgical lat isolation.
This is the 2026 blueprint for building a wide, thick back without the joint-crushing tax of heavy dumbbells. We are moving beyond “just pulling” and into the realm of neurological anti-rotation. If you want a V-taper that actually functions under pressure, you need to stop ego-lifting and start mastering the tension.
Disclaimer: Consult a physician or qualified trainer before starting any new exercise. This guide focuses on performance and aesthetic optimization and is for educational purposes only.
Single-Arm Standing Band Row: The Lat Isolator
The Single-Arm Standing Band Row is a unilateral horizontal pulling movement that utilizes variable resistance to hammer the lats and obliques. Unlike a standard Bent-Over Dumbbell Row, the band provides increasing tension as you reach the peak contraction. This forces your nervous system to stay “switched on” throughout the entire range of motion, teaching your core to resist the rotation created by the band.
- Primary Focus: Latissimus Dorsi, Rhomboids, Rear Delts.
- Secondary Focus: Obliques, Transverse Abdominis (Anti-rotation).
- Equipment Needed: Resistance Band (anchored at chest height).
- Skill Level: Beginner to Advanced.
Single-Arm Standing Band Row instructional video. Focus on the stable torso and elbow drive.
Why Banded Tension Wins for Aesthetics
Variable resistance is the secret to the “pump” that triggers growth. Because the band is hardest at the end of the rep—where your lat is most contracted—you are forced to “own” the squeeze. This leads to a level of mind-muscle connection that heavy, momentum-based rows simply can’t replicate.
- Accommodating Resistance: The resistance curve matches your muscle’s strength curve. You get more load where you are strongest.
- Postural Correction: It combats the “office slouch” by activating the posterior chain while requiring an upright, braced torso. Pair with Band Pull-Apart for total shoulder health.
- Core ROI: Your abs must fire to prevent the band from pulling your shoulder forward. It’s a stealth core builder.
- Shoulder Friendly: The freedom of the band allows for a more natural joint path compared to a fixed machine or barbell.
Step-by-Step Form: The 5-Point Checklist
- The Setup: Anchor a band at chest height. Stand with a staggered stance (opposite foot forward) or a square stance. Hold the band with one hand.
- The Brace: Take a 360-degree breath. Lock your ribs to your pelvis. If you feel wobbly, prime your midsection with an Ab Wheel Iso before your sets.
- The Initiation: Do not pull with your hand. Initiate by retracting your shoulder blade (scapula) back and down.
- The Drive: Pull your elbow toward your hip. Stop when your elbow reaches your torso. Do not let the elbow fly past your back, as this causes the shoulder to tip forward.
- The Eccentric: Resist the band as it pulls your arm forward. Do not let it “snap” back. Control the stretch.
“The beauty of the standing band row is the anti-rotation demand. Your body wants to twist toward the anchor point, but your core must fight to stay square. This creates a functional crossover between back strength and midsection stability that is vital for heavy Barbell Deadlifts.”
— Eugene Thong, CSCS
3 Common Mistakes & How to Fix Them
If you aren’t feeling your lat, you’re doing it wrong. Fix these pixels.
1. Torso Rotation
The Mistake: Twisting your chest toward the band as you pull. The Fix: Imagine your shoulders are headlights; keep them pointed straight ahead. If you can’t stay square, the band is too heavy. Reset your breathing with 90/90 Wall Balloon-Breathing to find your center.
2. The “Bicep Pull”
The Mistake: Yanking the band with your hand and forearm rather than the lat. The Fix: Use a hook grip (fingers only) and think of your arm as a tether. The “engine” is your elbow driving back.
3. Shrugging (Trap Dominance)
The Mistake: Pulling your shoulder up toward your ear. The Fix: “Put your shoulder blade in your back pocket.” Keep space between your ear and your shoulder.
“From a nutritional standpoint, movements that prioritize the eccentric phase and constant tension, like banded rows, are superior for increasing sarcoplasmic hypertrophy and local blood flow. This ‘pump’ ensures that amino acids from your protein are actually delivered to the muscle tissue being worked.”
— Charles Damiano, B.S. Clinical Nutrition
Programming & Integration
Banded rows are best used as an accessory movement to build volume without central nervous system fatigue.
- The Hypertrophy Finisher: 3 sets of 15-20 reps per arm. Focus on a 2-second squeeze at the peak.
- Postural Maintenance: 2 sets of 12 reps daily to “reset” your posture after sitting.
- Unilateral Strength: Pair with Alternating Dumbbell Bench Press for a balanced, athletic upper body.
Variations to Scale Difficulty
- Split-Stance Band Row: Better for stability and beginners. See Single-Arm Standing Split-Stance Band Row.
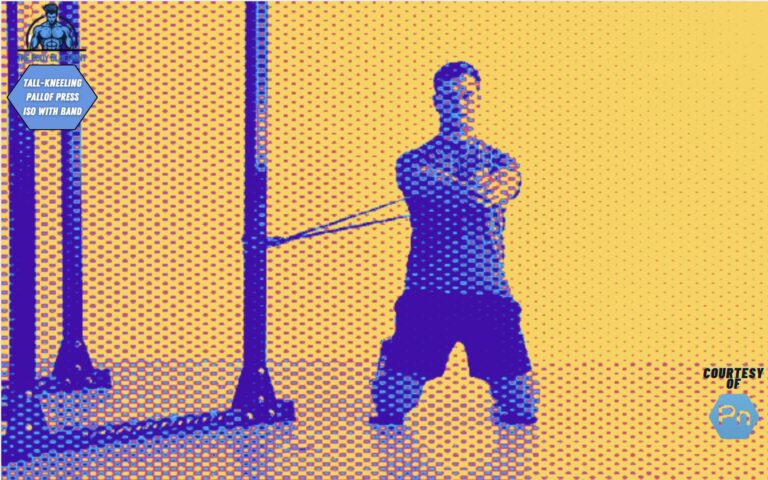
- Tall-Kneeling Band Row: Removes the legs to force even more core and lat isolation.
- To Progress: Use a thicker band or step further away from the anchor point to increase the starting tension.
The Verdict
The Single-Arm Standing Band Row is a surgical tool for back development. It builds a lat that “pops” and a core that doesn’t quit. Master the squeeze, control the eccentric, and build the back you deserve.
Single-Arm Standing Band Row FAQ
Should I stand square or staggered?
Staggered stance (opposite foot forward) provides more stability. Square stance increases the core demand significantly. Start staggered, then progress to square.
How far should I stand from the anchor?
Stand far enough that the band has tension even at the start of the rep. There should be no “slack” at the beginning of the movement.
Can I do these every day?
Yes. Because they have a low eccentric load compared to heavy weights, they are excellent for daily postural work.