Infraspinatus, teres minor, and posterior deltoid get targeted by the side-lying cable external rotation with abduction. The cable provides constant tension throughout the range of motion. The abduction component adds a stability challenge your rotator cuff must control. This isn’t a shoulder press. This is a rehab and prehab tool that builds glenohumeral joint resilience and prevents impingement syndromes.
Side-Lying Cable External Rotation With Abduction – Execution Protocol
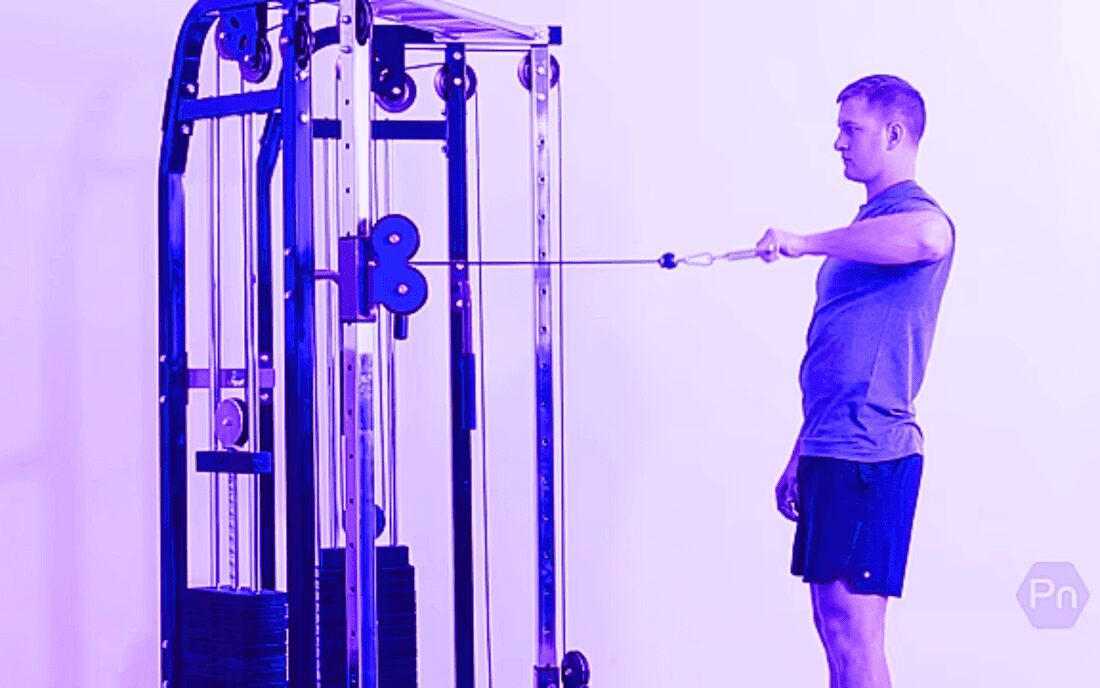
“The side-lying cable external rotation with abduction is like a quarterback’s throwing motion in slow motion. Control. Precision. Stability. The cable doesn’t let you cheat. Every inch of rotation is earned.”
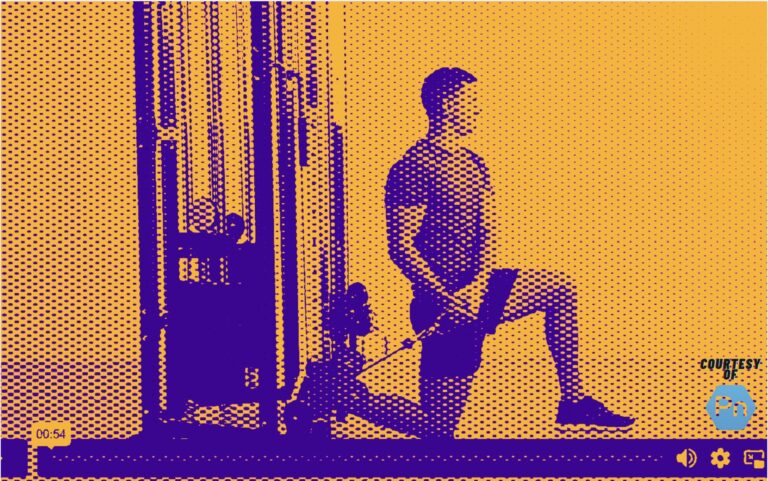
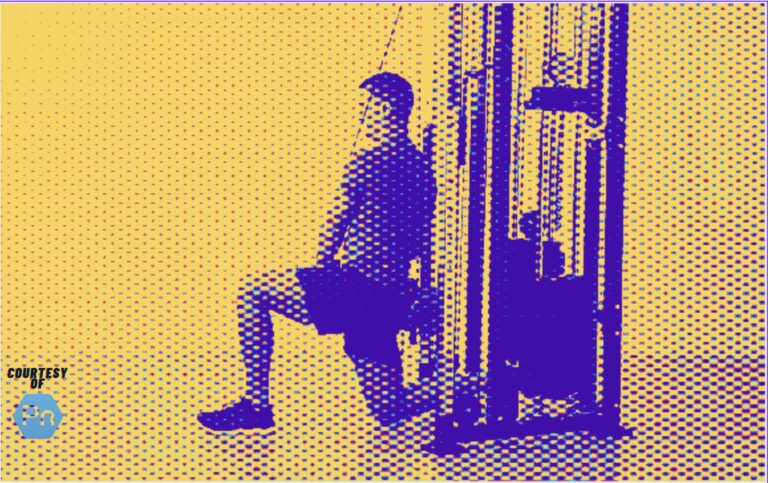
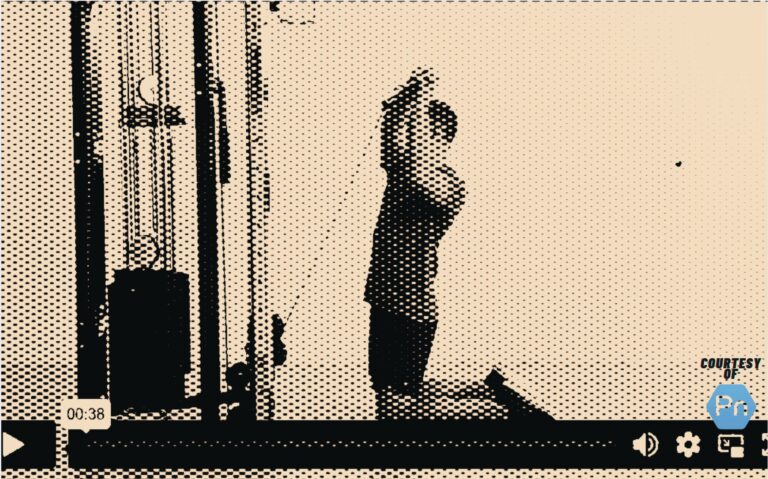
Set the cable machine at a height that aligns with your shoulder. Attach an elbow cuff to the cable above your right elbow. The cuff must be snug but not tight. Lie on your left side perpendicular to the machine. Your right arm rests across your body. Your core stays braced. Your scapula stays retracted.
Initiate the movement with external rotation. Keep your elbow locked at a 90-degree angle. Rotate your arm away from your body. Your forearm moves upward. Your elbow stays pinned to your side. The cable provides constant tension. Your infraspinatus and teres minor fire to control the rotation.
Add abduction once you reach full external rotation. Move your arm outward like a wing opening. Your upper arm lifts away from your body. Keep it in line with your shoulder. Do not let it drift toward your hip. Your supraspinatus and deltoid engage to control the abduction phase.
Control the eccentric phase back to the start. Lower your arm slowly. Resist the cable’s pull. Your rotator cuff works eccentrically to control the descent. This is where the real strength is built. Do not let the cable yank your arm back. Control is everything.
Complete 10-15 reps per side. Use a light weight. This is not a heavy movement. Your rotator cuff muscles are small. They fatigue quickly. Increase weight gradually. Focus on form and control over load.
Switch sides and repeat. Shoulder imbalances are common. This exercise exposes them. Your weaker side will struggle earlier. That is the point. Build both sides equally. Prevent asymmetry and injury.
Expert Analogy: “Think of this exercise like teaching a young pitcher to throw. You don’t start with 90-mile-per-hour fastballs. You start with controlled movements. You build the mechanics first. The power comes later.”
Muscles Worked: Primary and Secondary Contributors
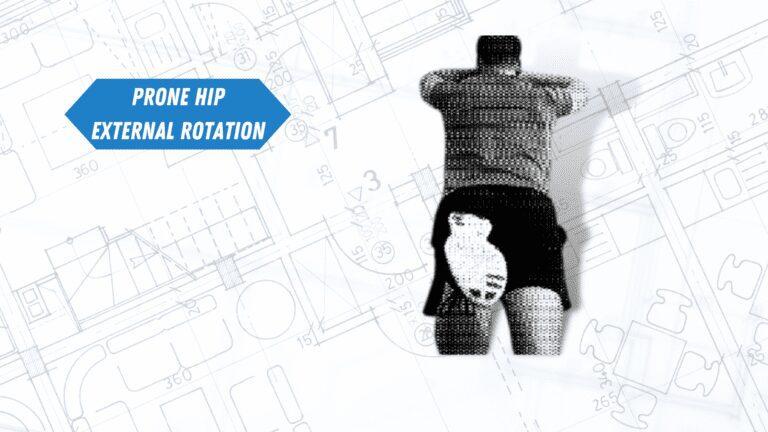
Infraspinatus and teres minor handle the external rotation component. These are the primary external rotators of the shoulder. They attach to the posterior scapula. They insert on the greater tuberosity of the humerus. Their job is to rotate the arm outward. The cable amplifies their activation throughout the range of motion.
Supraspinatus engages during the abduction phase. This muscle initiates shoulder abduction. It sits in the supraspinatus fossa. It inserts on the greater tuberosity. The abduction component adds a stability challenge. Your supraspinatus works harder to keep the arm elevated. This is critical for overhead pressing and throwing.
Posterior deltoid assists with both rotation and abduction. The posterior deltoid contributes to shoulder extension and external rotation. It works alongside the rotator cuff. Your deltoid provides power while the rotator cuff provides stability. This combination is essential for shoulder health.
Subscapularis acts as a dynamic stabilizer. The subscapularis is the primary internal rotator. It works eccentrically to control the external rotation. This antagonist activation prevents excessive motion. Your rotator cuff works as a team. Each muscle supports the others. Balanced development prevents injury.
Quoting a shoulder specialist: “The side-lying cable external rotation with abduction is the closest you can get to isolated rotator cuff work without a cadaver. The cable provides constant tension. The side-lying position eliminates compensation. It’s pure, targeted, and unforgiving.”
Who It’s For
Athletes with throwing or overhead sports demands. Baseball pitchers benefit. Quarterbacks benefit. Volleyball players benefit. Tennis players benefit. The movement pattern mimics deceleration and stabilization demands. Your rotator cuff needs to withstand repetitive stress. This exercise builds that resilience. See our performance hub for more.
Lifters with shoulder impingement or instability issues. The side-lying position eliminates compensation. Your scapula is stabilized against the floor. This isolates the glenohumeral joint. Your rotator cuff works without scapular cheating. This is ideal for rehab and prehab phases.
Anyone looking to prevent shoulder injuries. Your rotator cuff is vulnerable. Overhead pressing, benching, and throwing all stress it. Strong external rotators protect against impingement and tears. This exercise builds that strength. It addresses a common weak point. For more injury prevention, see our joint stability guide.
Bodybuilders wanting balanced shoulder development. Most shoulder work targets the front and side delts. The rear delt and rotator cuff get neglected. This exercise fills the gap. It builds the posterior shoulder and improves posture. Balanced shoulders look better and perform better. See our shoulder exercises for complementary work.
Who It’s Not For
Anyone with an active rotator cuff tear. This exercise stresses the rotator cuff directly. If you have a tear, consult a professional first. We are not testing. We are analyzing mechanics. This movement is not for acute injuries.
Lifters with acute shoulder pain. Pain during external rotation is a red flag. Stop immediately. Do not push through pain. Consult a qualified professional. Your shoulder health is paramount.
Athletes seeking pure strength or power development. This is a stability and rehab exercise. It is not a heavy strength builder. Use it as an accessory. Pair it with heavier compound work. For strength, see standing overhead press.
Programming the Side-Lying Cable External Rotation
Rehab/Prehab Day: 3 sets of 15-20 reps per side. Use a light weight. Focus on control and range of motion. Perform this at the start of your workout. It activates your rotator cuff. Preps your shoulder for heavier work. Rest 60 seconds between sets.
Accessory Work: 3 sets of 10-12 reps per side. Use a moderate weight. Perform after your main pressing or pulling work. Your rotator cuff gets fatigued. This is fine. It builds endurance and stability. Rest 45-60 seconds between sets.
Warm-up Application: 2 sets of 10 reps per side. Use a very light weight. This is a dynamic warm-up. Your rotator cuff activates. Blood flow increases. Your shoulder joint prepares for heavier work. Do this before benching or pressing.
Frequency considerations: This is an accessory movement. Use it 2-3 times weekly. Do not overdo it. Your rotator cuff is small. It fatigues quickly. Listen to your body. For more recovery, see our muscle recovery hub.
Common Mistakes to Avoid
Using too much weight destroys the stimulus. Your rotator cuff muscles are small. They cannot handle heavy loads. The cable provides constant tension. Light weight is enough. Heavy weight causes compensation. Your scapula and traps take over. This defeats the purpose.
Letting the elbow drift away from your side. Your elbow stays pinned to your body. This is non-negotiable. Drifting reduces external rotation isolation. Your deltoid takes over. The rotator cuff gets less work. Keep that elbow tight.
Using momentum to move the weight. The cable amplifies momentum issues. A swinging arm reduces rotator cuff engagement. Your muscles experience less tension. Control the movement. Slow and steady wins this one.
Flaring your ribs during the movement. Your core must stay braced. Rib flaring creates lumbar extension. This shifts the movement pattern. Your shoulder compensates. Your scapula loses stability. Keep your ribs down. Keep your abs tight.
Not achieving full external rotation. Partial reps miss the end-range stimulus. Your infraspinatus works hardest at the end range. Shortening the range reduces effectiveness. Rotate fully. Your forearm should point upward. Your upper arm stays horizontal.
Expert Comparison: “Treat this exercise like a golf swing. You don’t use a sledgehammer. You use a putter. Precision. Control. Feel. That’s what builds the rotator cuff.”
Variations to Progress or Regress
Banded External Rotation Regression: Use a light resistance band instead of cable. Anchor it at waist height. This removes the constant tension variable. Good for beginners or home gyms. Start with this variation. Build form first. See our banded external rotation guide.
Standing Cable Variation: Perform the exercise standing. This adds a stability challenge. Your core and glutes must stabilize your entire body. The rotator cuff works against a moving base. Advanced variation. Master the side-lying position first.
With Pause at End Range: Hold the fully rotated position for 2-3 seconds. This increases isometric demand. Your infraspinatus and teres minor work harder. Great for endurance. Drop the weight by 20% to maintain form.
Without Abduction Regression: Perform only the external rotation. Skip the abduction phase. This reduces the supraspinatus demand. Good for those with shoulder impingement. Start here if you have pain during abduction. Progress slowly.
Double Cable Variation: Use both cables for bilateral external rotation. This exposes asymmetries. Your weaker side shows itself clearly. Great for balanced development. Requires two cable stations or functional trainer. See our cable exercises for more options.
Side-Lying Cable External Rotation With Abduction – FAQ
A: It can be beneficial for impingement when performed correctly. The side-lying position stabilizes the scapula. This isolates the glenohumeral joint. However, if you experience pain, stop. Consult a professional first. See our joint stability guide.
A: Start with the lightest weight on the stack. Your rotator cuff muscles are small. They need controlled loading. Focus on form first. Increase weight in 2.5-5 pound increments. Your target is 10-15 controlled reps.
A: The side-lying position eliminates scapular compensation. Your scapula is pressed against the floor. This forces your rotator cuff to work alone. Standing variations allow the trapezius and rhomboids to assist. Side-lying is more isolated.
A: 2-3 times per week is sufficient. Your rotator cuff needs recovery. This is an accessory movement. Pair with heavier compound work. Your rotator cuff strength will improve over time.
A: You can use a functional trainer with dual cables. Perform the movement bilaterally. This exposes asymmetries. However, side-lying is more effective. It isolates each shoulder independently. Do both variations for balanced development.
Final Verdict
The side-lying cable external rotation with abduction is a precision shoulder tool. The infraspinatus activation. The teres minor engagement. The supraspinatus recruitment. This variation builds rotator cuff resilience. It prevents injury. It improves overhead performance. It’s not flashy. It’s effective.
The cable provides constant tension throughout the range. No momentum. No cheating. Your rotator cuff works from the first degree of rotation. This is the difference between this and band variations. The cable doesn’t let up. This builds end-range strength.
The side-lying position eliminates compensation. Your scapula is stabilized. Your torso is braced. Your glenohumeral joint works in isolation. This is the gold standard for rotator cuff isolation. You cannot cheat this movement.
Your shoulder health determines your lifting longevity. Neglect the rotator cuff. Pay the price. Build it. Your bench press, overhead press, and pull-ups will improve. Your shoulder will thank you.
Build Bulletproof Shoulders
The side-lying cable external rotation with abduction is your ticket to shoulder stability and injury prevention. Use it consistently. Progress slowly. Watch your overhead strength and shoulder health improve. For more shoulder exercises and programming, explore our comprehensive guides.
Key Terms for This Shoulder Exercise
- Rotator Cuff
- A group of four muscles stabilizing the glenohumeral joint. The infraspinatus, teres minor, supraspinatus, and subscapularis. They control shoulder rotation and stability.
- Glenohumeral Joint
- The ball-and-socket joint of the shoulder. The most mobile joint in the body. Requires dynamic stability from the rotator cuff.
- External Rotation
- Rotation of the arm away from the body’s midline. Controlled primarily by the infraspinatus and teres minor.
- Abduction
- Movement of the arm away from the body. Initiated by the supraspinatus and continued by the deltoid.
- Scapular Stability
- Control of the shoulder blade during arm movement. Essential for rotator cuff function and impingement prevention.
- Impingement Syndrome
- Compression of rotator cuff tendons under the acromion. Often caused by weakness in external rotators and imbalance in shoulder mechanics.