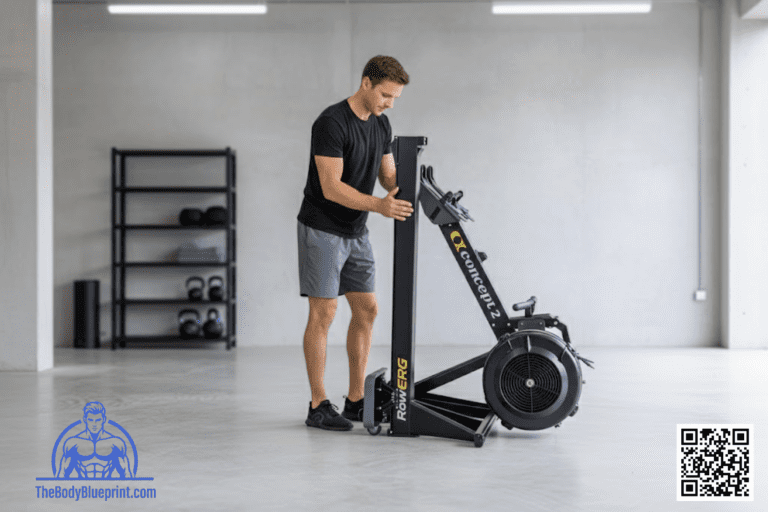
The Concept2 RowErg is one of the easiest cardio machines to assemble — most users are rowing within 20–30 minutes.
This step‑by‑step 2026 guide walks you through unboxing, assembly, setup, and first‑time calibration so your machine feels smooth, stable, and ready for training.
If you want to see how the RowErg fits into a full home gym layout, check the Home Gym Integration Guide for spacing, flooring, and storage ideas.
Unboxing Checklist
Your RowErg arrives in two main pieces plus hardware. Before assembling, confirm you have:
- Front flywheel section
- Rear monorail section
- PM5 monitor + arm
- Seat + rollers pre‑installed
- Footrests + straps
- Legs + screws (varies by model)
- Tools (Concept2 includes everything needed)
Clear a 6–8 ft workspace before starting.
Assembly Steps (20–30 Minutes)
The RowErg is one of the simplest cardio machines to assemble. Most steps involve attaching the monorail and securing the legs.
Step 1 — Attach the Front Legs
- Position the flywheel housing upright
- Align the front legs with the mounting holes
- Insert screws and tighten firmly
Step 2 — Attach the Rear Legs
- Flip the monorail upside down
- Align the rear legs
- Secure with included screws
Step 3 — Connect the Monorail to the Flywheel
- Slide the monorail into the flywheel frame
- Listen for the locking click
- Ensure the connection is flush and stable
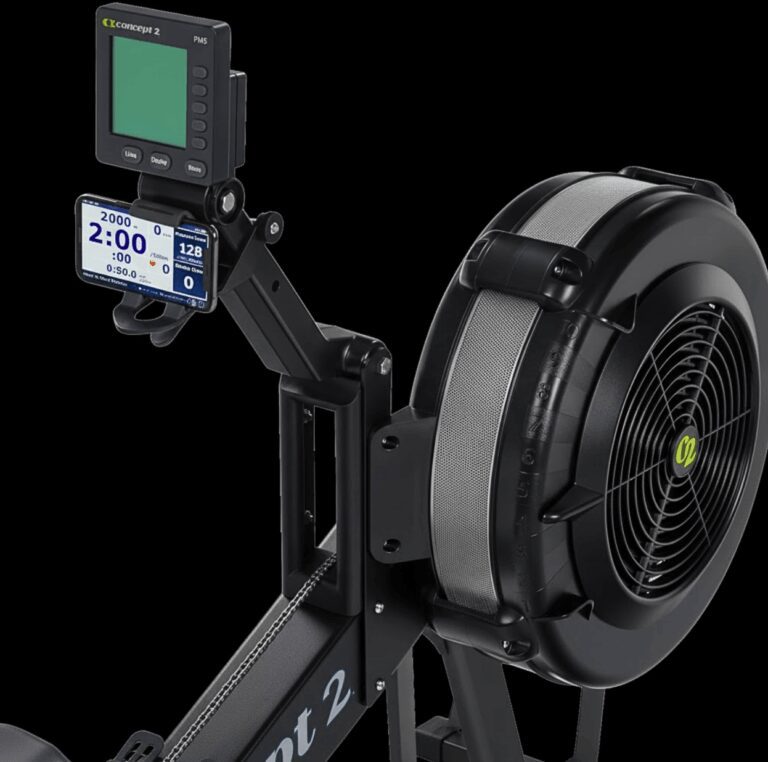
Step 4 — Install the PM5 Monitor
- Attach the monitor arm to the flywheel housing
- Mount the PM5 using the included screws
- Connect the monitor cable
Step 5 — Install Footrests
- Slide footrests into the mounting rails
- Adjust to your shoe size (4–6 for most users)
- Secure straps
If you prefer a visual walkthrough, the Technique Guide includes setup posture tips once assembled.
PM5 Setup (First‑Time Use)
The PM5 powers on automatically when you start rowing. For first‑time setup:
- Select language
- Set units (meters, calories, watts)
- Pair Bluetooth heart rate strap (optional)
- Update firmware via ErgData app
For a full breakdown of every PM5 feature, see the PM5 Monitor Guide.
Drag Factor Check (Optional but Recommended)
Drag factor ensures your machine feels consistent across workouts and matches other Concept2 machines.
How to Check Drag Factor
- Go to More Options → Display Drag Factor
- Row lightly for 5–10 strokes
- Note the number (typical range: 110–130)
Adjust the damper until you reach your preferred drag factor.
Ideal Placement in Your Home Gym
The RowErg needs more length than most cardio machines but stores easily when not in use.
- Space needed: 9 ft x 4 ft
- Storage: vertical or two‑piece separation
- Flooring: rubber, carpet, or hardwood with a mat
For layout ideas, see the Home Gym Integration Guide.
First Row Checklist
Before your first session, run through this quick checklist:
- Foot straps snug but not restrictive
- Monitor arm positioned at eye level
- Damper set between 3–5
- Seat glides smoothly along the monorail
- Chain pulls straight and returns cleanly
Once ready, start with the Beginner RowErg Workouts to build technique and confidence.
Related Concept2 Guides
The Iron Lexicon: Setup Edition
- Monorail
- The long aluminum track the seat glides on.
- Damper
- The side lever that controls airflow into the flywheel.
- Drag Factor
- A precise measurement of resistance used for consistent training.
- Flywheel Housing
- The front section containing the fan and resistance system.