Static stability is a myth in athletics. You are never perfectly still on the field or under a barbell. The Plank Arm March introduces “Dynamic Instability,” forcing the core to maintain a neutral spine while the upper extremities change the center of gravity.
If you can hold a plank for five minutes but your hips wiggle like you’re at a salsa class when you lift an arm, your core isn’t strong—it’s just enduring. The Plank Arm March is the reality check your midsection needs. It strips away the stability of a four-point base and forces you to fight rotational torque with every rep. This isn’t about time; it’s about control.

Important: This is an anti-rotation exercise. If your hips rotate, the set is over. Quality > Quantity.
Why This Move Outclasses Static Planks
Standard planks are easy. Your body finds equilibrium and hangs on the joints. The Plank Arm March destroys equilibrium. By lifting one arm, you remove 25% of your base of support. Your obliques must instantly fire to prevent you from face-planting.
The Benefits at a Glance
| Advantage | The Payoff |
|---|---|
| Anti-Rotation | Teaches the body to resist twisting forces, critical for heavy lifts. |
| Shoulder Stability | The supporting arm must stabilize the entire torso, similar to banded external rotations for cuff health. |
| Dynamic Control | Trains the core to stay rigid while the limbs move—the definition of athleticism. |
How to Perform the Plank Arm March Like a Pro
Imagine there is a tray of drinks on your lower back. Your goal is not to spill a drop.
Step-by-Step Execution
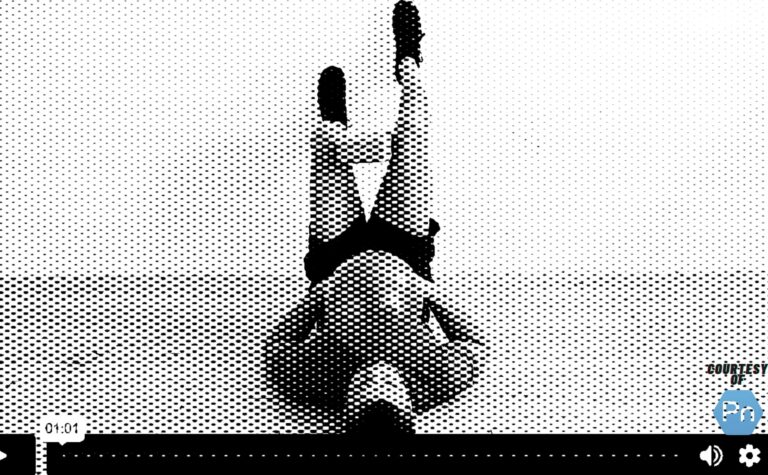
- The Base: Assume a forearm plank position. Elbows under shoulders. **Feet wide.** A wide base is the cheat code for learning this movement.
- The Lock: Squeeze your glutes and quads. Drive your heels back. This creates full-body tension.
- The Reach: Without shifting your weight, lift one arm and reach forward (or simply tap the opposite shoulder).
- The Fight: As the arm lifts, your opposite hip will want to drop. **Don’t let it.** Squeeze the oblique on the supporting side.
- The Return: Place the elbow back down silently. Reset. Switch sides.
“The narrower your feet, the harder this becomes. If you are wobbling, widen your stance. If it’s too easy, bring your feet together. Progression is about leverage, not adding weight.”
— Eugene Thong, CSCS
Common Mistakes That Kill Progress
- The Salsa Hips: If your hips sway side-to-side, you aren’t stabilizing; you’re just shifting weight. Keep the belt buckle parallel to the floor.
- The Pike: Shooting the butt up in the air. This offloads the core and puts stress on the shoulders. Stay flat.
- Rushing: This is a control drill. 2 seconds up, 1 second hold, 2 seconds down.
Progressions: Earn the Difficulty
1. Plank Shoulder Taps
Perform from a high plank (push-up position). This increases the lever arm on the shoulder stability but is slightly easier on the core due to the angle. A great precursor to standard pushups.
2. The Bird Dog Plank
The ultimate test. Lift the right arm and the left leg simultaneously. If you can do this without twisting, your core is bulletproof.
3. Weighted Reach
Drag a small weight or sandbag from side to side. This adds external resistance to the anti-rotation demand.
Programming Tips
Use this as a primer. If you are training in a home gym setup, perhaps comparing the REP Arcadia vs Titan Functional Trainer, use the Plank Arm March to wake up the stabilizers before you hit the cables.
Sample Protocol
| Level | Volume | Stance |
|---|---|---|
| Beginner | 3 x 12 reps (Total) | Feet Wide |
| Intermediate | 3 x 20 reps (Total) | Feet Hip-Width |
| Advanced | 3 x 20 reps (Bird Dog) | Feet Narrow |
Context is Key
This exercise pairs perfectly with lower body stability work. Try supersetting this with the Bodyweight Squat to Box. The plank fires the core, and the squat pattern integrates that stability into a functional movement.
The Verdict
The Plank Arm March is the cure for the boring plank. It forces you to own your position against gravity and torque. Stop being a statue and start building dynamic strength.